- Do not feel guilty for your indulgences.
- Start your day off with water, green tea, a multi-vitamin, fish oil and a great breakfast.
- Get in a workout. Sweat!
- Jump right back into your schedule of eating 4-5 meals/day
- Go to bed early so that you can get at least 8 hours of sleep
31-Dec-2014
Comments Off on Hangover Recovery
Hangover Recovery
Category : Active Living
Here are some tips to help with hangover recovery.
Let’s face it, most of the time you are careful to eat and drink in moderation, but there are lots of parties this time of year and lots of opportunities to over-do-it. If you wake wake up with a food and/or beverage hangover here are some great tips from Mark Verstegen & Pete Williams authors of Core Performance for Women:
What to do the day after…
18-Dec-2014
Comments Off on Foam Roller exercises for desk workers
Foam Roller exercises for desk workers
Category : Exercise
Two for You!
Here are two foam roller exercises for desk workers! That’s the purpose of our exercise blog…to introduce new and fun exercises that you can do at home with little or no equipment because we know you can’t always get to the gym! We have foam rollers in stock. You can take one home for $35! Exercise #1: Foam roll your quads and cobra stretch Start lying face down; propped upon you elbows with the foam roller under you thighs. Use your arms to pull and push your body back and forth so that the roller rolls the length of your upper leg from just above your knee cap to the very top of your thighs. After rolling 5-10 times try the cobra stretch by placing your hands directly below your shoulders and straighten your elbows. Your upper thighs should be supported by the roller. This is a great stretch for your low back. Exercise #2: Chest Fly and stretch Start by lying lengthwise on the foam roller facing the ceiling. Hold a hand weight in your right hand and perform a single arm chest fly ten times. Repeat on the left side. This will strengthen your chest and core. Finish with a chest stretch by continuing to lie on the foam roller with your arms straight out to the sides forming a “T”. Let the backs of your hands rest on the floor and relax.Do you want to learn more exercises like these? Contact us at info@xofitness.com
11-Dec-2014
Comments Off on Foam roller exercises to strengthen your core
Two for You!
Here are two foam roller exercises to strengthen your core. That’s the purpose of our exercise blog…to introduce new and fun exercises that you can do at home with little or no equipment because we know you can’t always get to the gym! We have foam rollers in stock. You can take one home for $35! Exercise #1: Supine Heel Taps Start by lying on your back with your spine and head supported by the foam roller. Use your hands for balance on the floor and carefully lift both of you feet off of the floor so that your knees are directly above your hips and you have a right angle at your hip and knee. Once you feel stable in this position hinge from them hip slowly lowering one leg back down to the floor. Your knee should stay bent at a 90 degree angle. Tap the floor with your heel and then lift that leg up to the 90/90 position. Keep your abdominal muscles braced throughout this exercise and don’t let your pelvis tip when you move your leg. Alternate lowering legs to tap heels 5-10 times per leg. Exercise #2: Supine Leg Extensions Start by lying on your back with your spine and head supported by the foam roller. Use your hands for balance on the floor and carefully lift both of you feet off of the floor so that your knees are directly above your hips and you have a right angle at your hip and knee. Now, maintaining a 90-100 degree angle at your hip straighten both legs slowly until they are as straight as you can get them. If you are really tight in your hamstrings you might not be able to do this with your hips at 90 degrees…it’s ok to increase the angle slightly so that you can straighten your legs. Be sure to keep abdominal muscles braced and spine in a neutral position throughout this exercise. Repeat 10-15 times. Do you want to learn more core strengthening exercises like these? Contact info@xofitness.com05-Dec-2014
Comments Off on Foam Roller Planks
Foam Roller Planks
Category : Exercise
Two for You!
Here are two foam roller planks you can do to strengthen your core. That’s the purpose of our exercise blog…to introduce new and fun exercises that you can do at home with little or no equipment because we know you can’t always get to the gym! Exercise #1: Elbow Plank on foam roller Start kneeling on the floor with your foam roller in front of you. Place your elbows onto the foam roller and step your feet back so that you are in a plank position. Focus on keeping your abdominal muscles braced, your spine in neutral and your shoulder blades pulled down and together. Hold this position for 10 seconds; rest & repeat up to 10 times. Make it more challenging: Lift one foot of the floor as shown Exercise #2: Upward facing Plank on foam roller Start sitting on the floor with your foam roller behind you. Lean back on it so that it is across your shoulder blades. Cradle your head in your hands so that you don’t strain your neck muscles. Straighten your legs and then lift your butt off the floor so that you are in a straight line from your heels to your head. Hold this position for 10 seconds; rest & repeat 5-10 times. Do you want to learn more exercises like these? Contact us! info@xofitness.com26-Nov-2014
Comments Off on Plank Variations
Plank Variations
Category : Exercise
Here are some fun plank variations you can do with paper plates! Always keep your abdominal muscles braced. If you feel in strain in your back be sure to rest before proceeding to the next exercise. Starting position for all planks is a push-up plank position with your toes on the plates. Your toes must always maintain contact with the plates. Some surfaces will work better than others for sliding the plates, so if you are having trouble try a smooth floor or very low pile carpet. Plank #1: Mountain ClimbersDraw right knee in toward right elbow, then slide back out to starting position. Repeat with left knee to left elbow. Try these slow at first and then you can speed them up if you wish. Do 10 slow or 30 seconds fast. Plank #2: FrogDraw both knees in toward your elbows at the same time bringing knees outside your elbows; then slide back out to starting position. Keep your hips low for this plank. Repeat 5-10 times with good form. Plank #3: PikeKeep legs straight as you pull your feet forward and your hips up into an inverted V position. Slide back to plank position being careful not to drop hips too low causing your back to arch. Repeat 5-10 times. Plank #4: Cross-undersDraw right knee toward left elbow and then slide leg out straight to left side so that it crossed under you. Then pull knee back in and slide foot back to starting position. Repeat on the opposite side. Repeat 3-5 times with good form.
Do you want more fun core exercises? Scroll down or contact us! info@xofitness.com
20-Nov-2014
Comments Off on Exercises to improve Strength and Balance
Two for You!
Here are two exercises to improve strength and balance. Specifically biceps and shoulders. All you need is a couple of hand weights! That’s the purpose of our exercise blog…to introduce new and fun exercises that you can do at home with little or no equipment because we know you can’t always get to the gym! Exercise #1: Bicep Curl with Single Leg Balance Begin in standing position with hand weights in each hand. Balance on one foot and bend elbows bringing weights up to shoulders. If you have trouble balancing on one foot you can touch your foot to the floor to maintain your balance. Choose a weight that makes it challenging to complete the entire set. Repeat 10x on each foot. Exercise #2: Front Raise with Step Back Begin standing with feet hip width apart holding one hand weight with both hands. Simultaneously lift weight (with arms relatively straight) until weight is above your head and step back with one foot shifting some of your weight to the back foot and pressing your heel all the way to the floor. Then lower the weight slowly and bring your foot back to starting position. Repeat stepping back with the opposite foot. Choose a weight that you can manage with out struggling or arching your back. Repeat 10-20 times with good form. Want to learn more exercises like these? Scroll down or contact us at info@xofitness.com18-Nov-2014
Comments Off on Healthy Thanksgiving Hints
Healthy Thanksgiving Hints
Category : Active Living
Traditionally, Thanksgiving dinner goes hand-in-hand with a huge meal followed reclining (or napping) on the couch. Here are some Healthy Thanksgiving hints to help you enjoy the holiday without over-doing it! 1) Don’t starve yourself. Depriving yourself all day in anticipation of a big meal is not a good idea. Doing this just sets you up for a binge. You should definitely eat a healthy breakfast and depending upon when the big meal is being served you may need to eat a healthy snacks such as fruits or vegetables so that you aren’t ravenous by the time you sit down at the table. 2) Schedule the meal earlier in the day. Having the big meal as early as possible is a good idea because it gives your body a chance to digest your food before bedtime. 3) Take very small portions. As you fill your plate, remember there are typically a lot more dishes on the table to choose from compared to your ordinary meal. With this in mind, take very small portions so you have room to “taste” everything. 4) Minimize the carb overload. Instead of preparing sweet potatoes, mashed potatoes, stuffing and rolls choose only one or two of these dishes. If you are not in charge of planning the meal you can just elect to NOT put all of these carb laden foods on your plate…just pick your favorite. It will save a ton of calories and you’ll feel less ‘stuffed!’ (pun intended!) 5) Serve lots of vegetables. Offer two or three different types of vegetables at the table (and they don’t have to be heavy-duty casseroles…just simple steamed vegetables). 6) Drink water. Set out water glasses for everyone with dinner. Drink a glass of water immediately before you eat. 7) Drink alcohol only in moderation. Remember that alcohol has a lot of empty calories and also lowers your inhibitions so you may throw caution to the wind and eat more than you intended. Plan Some Thanksgiving ActivitiesAs always, saying, “I’ll do it if I have time” doesn’t cut it. PLAN when you will exercise and what you will do. A workout will actually make you feel better and help to suppress your appetite so you’re less likely to overeat. Remember that a little extra activity gets you away from the food, but it does not give you a license to eat an extra piece of pie.
- First thing in the morning. Sneaking in your workout even if it is only 10 minutes will give you energy for the whole day.
- Participate in a Turkey Trot. A lot of communities have running/walking events on Thanksgiving Day. In Green Bay, the Festival Foods Turkey Trot begins Thursday at 8:00 am. It’s a great family tradition!
- Get outdoors. Inspiring even half of the guests to go out for some fresh air will break up the day: walk, play catch or shoot some hoops. Staying inside with your relatives ALL day is not recommended!
- Indoor ideas: Break out the Wii (no sitting while playing Wii is the rule at our house), play ping pong or pull out the Holiday decorations and have the family help get your house looking festive.
13-Nov-2014
Comments Off on Strengthen Shoulder and Core Muscles
Strengthen Shoulder and Core Muscles
Category : Exercise
Two for You!
Here are two exercises you can do anytime, anywhere to strengthen shoulder and core muscles. That’s the purpose of our exercise blog…to introduce new and fun exercises that you can do at home with little or no equipment because we know you can’t always get to the gym! Exercise #1: Half-kneeling Lateral Shoulder Lift Begin in a half-kneeling position holding hand weight at your side (same side as the knee that is down). Lift weight out to side with a relatively straight arm. Only lift weight to about shoulder height. Maintain a neutral spine throughout exercise-do not lean to the side when lifting….if you do lean then you should try a lighter weight. This exercise will strengthen your medial deltoid (shoulder) and core stabilizing muscles. Repeat up to 10x with good form on each side. Exercise #2: Half-kneeling Diagonal Twist Begin in half-kneeling position holding hand weight with both hands. Twist through your torso and lift the weight up (to the side where your knee is down) and then bring the weight down and across your body on a diagonal so that it crosses over to your hip (on the side where your leg is forward). While performing this exercise you should twist, but not bend your torso/spine. This exercise will strengthen your obliques and shoulders. Repeat 10x on each side Learn more exercises like these! Scroll down or contact us: info@xofitness.com06-Nov-2014
Comments Off on Strengthen Upper Body and Core Muscles
Strengthen Upper Body and Core Muscles
Category : Exercise
Two for You!
Here are two exercises you can do anytime, anywhere to strengthen upper body and core muscles. That’s the purpose of our exercise blog…to introduce new and fun exercises that you can do at home with little or no equipment because we know you can’t always get to the gym! Exercise #1: Push-up with Rotation Begin in a push-up position (on knees or toes) holding light hand weights. Your body should be in a plank position from shoulders to knees (or feet). Perform on push-up then lift one weight and rotate your body to a side plank position. Bring weight to your shoulder and then straighten your elbow and reach toward ceiling. Hold side plank for a moment and then lower weight to your shoulder and return to starting position. Repeat on the other side…continue alternating arms until you complete 10 times (5 to each side) More Challenge: Do push-ups on your toes instead of your knees. Exercise #2: Tricep Kickback with Hip Extension Begin on hands & knees holding light hand weights. Bring one elbow up beside your rib cage or slightly higher and then extend (straighten) your elbow. Your elbow should remain locked in at your side throughout the exercise so the ONLY joint that is moving is your elbow (bending and straightening). More Challenge: Make this into a full-body exercise by extending your your opposite leg straight back simultaneously with your arm extension. Adding the leg movement will strengthen your core and glutes. Do you want to learn more hand weight exercises to strengthen your upper body and core muscles? Contact us at info@xofitness.com30-Oct-2014
Comments Off on St. Brendan’s Irish Root Soup -Low Fat version
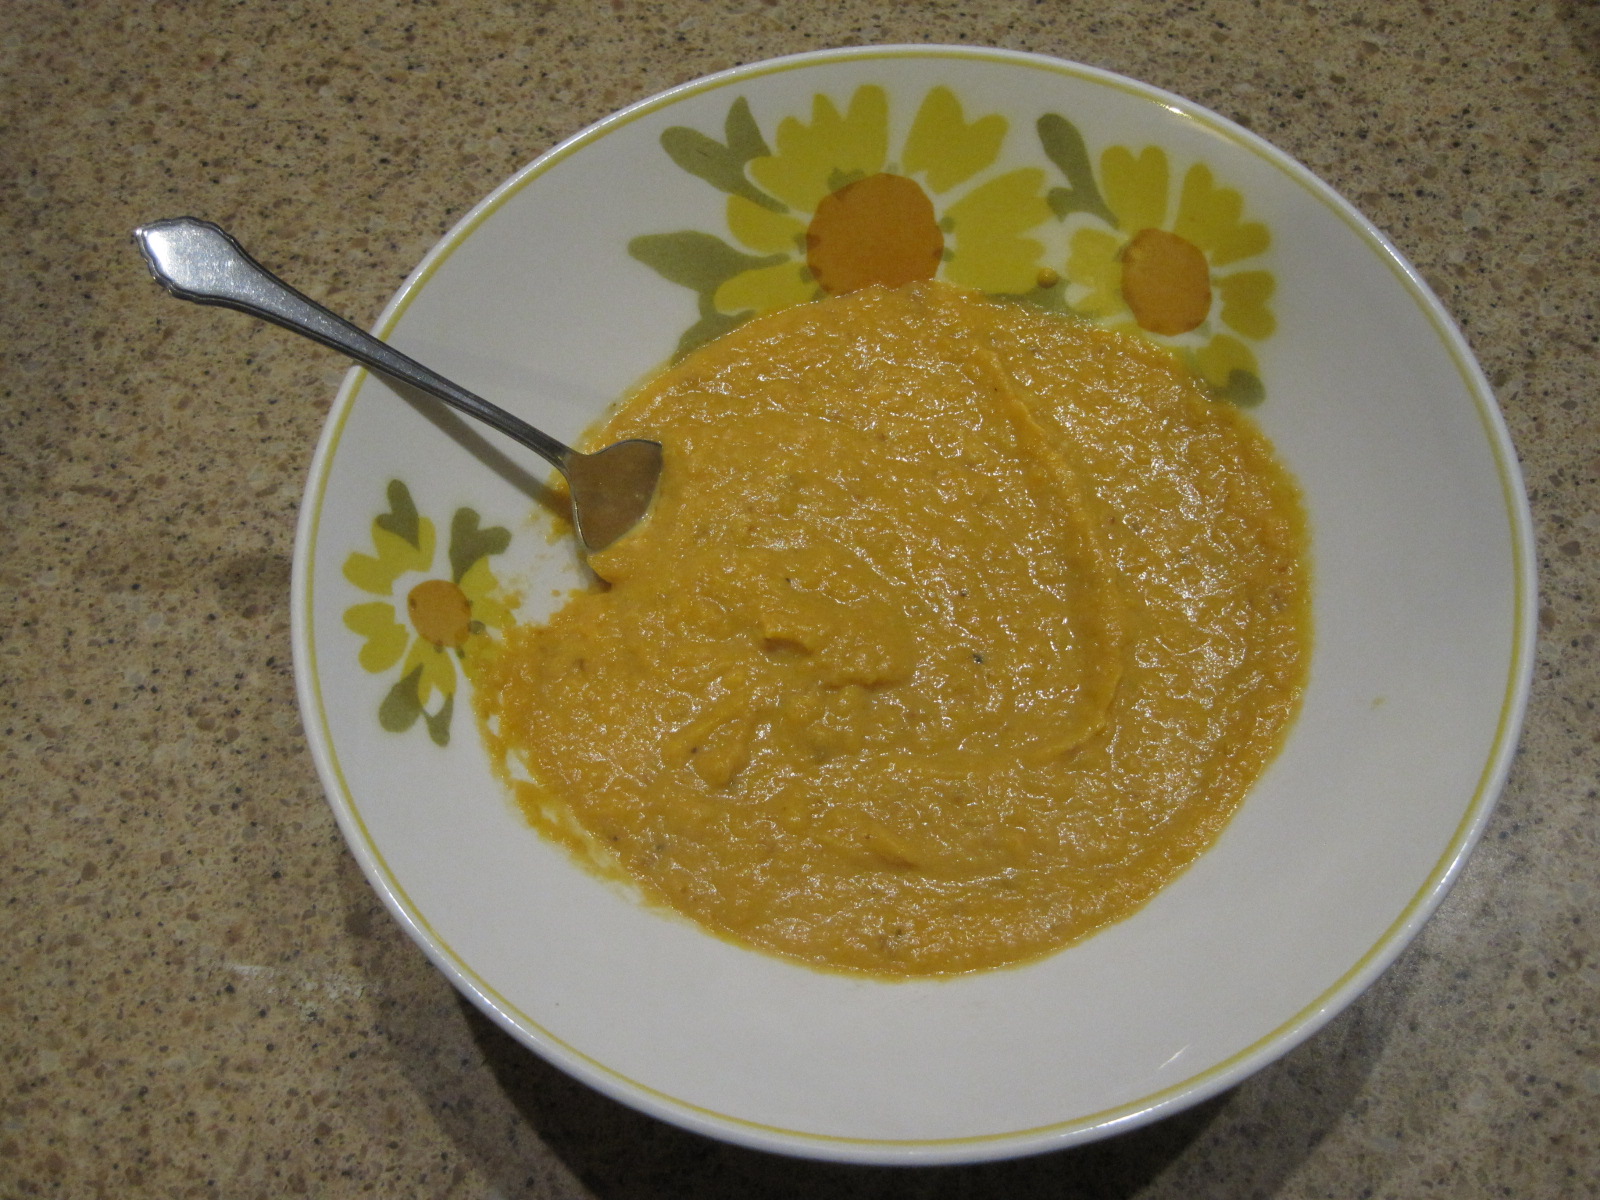
St. Brendan’s Irish Root Soup

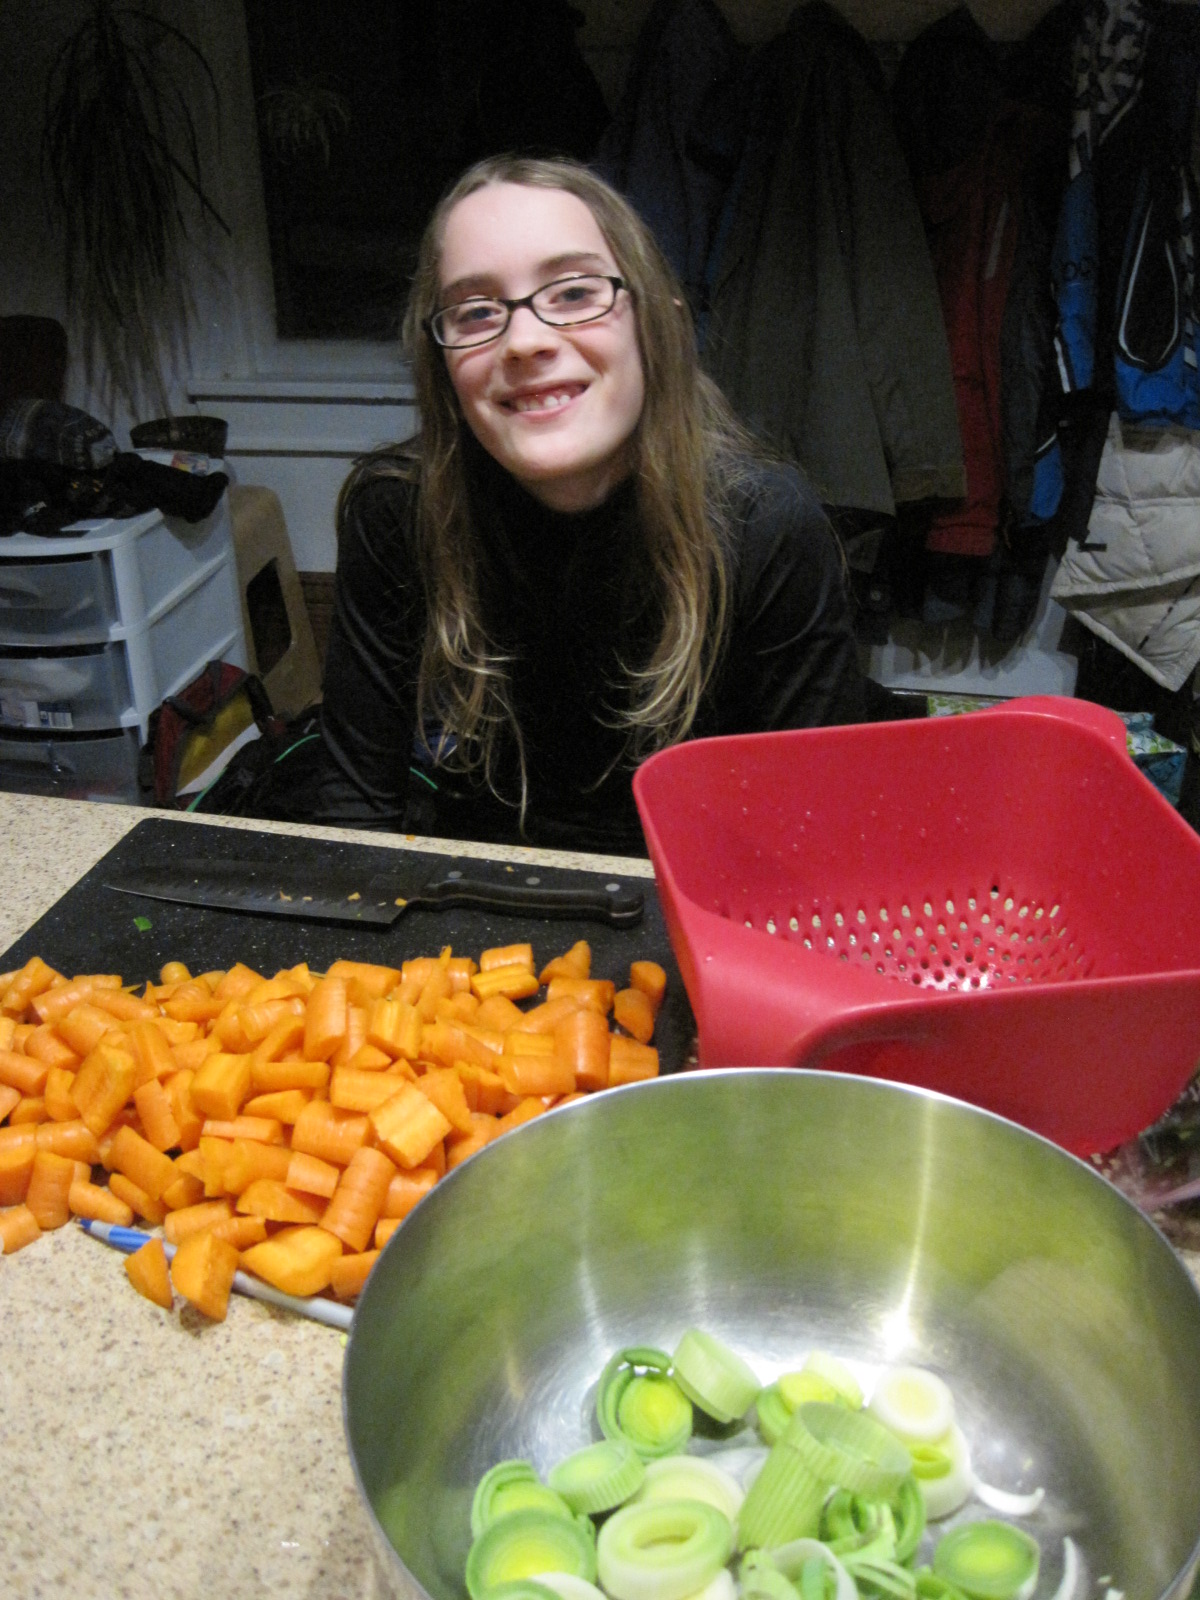
- Jasmine

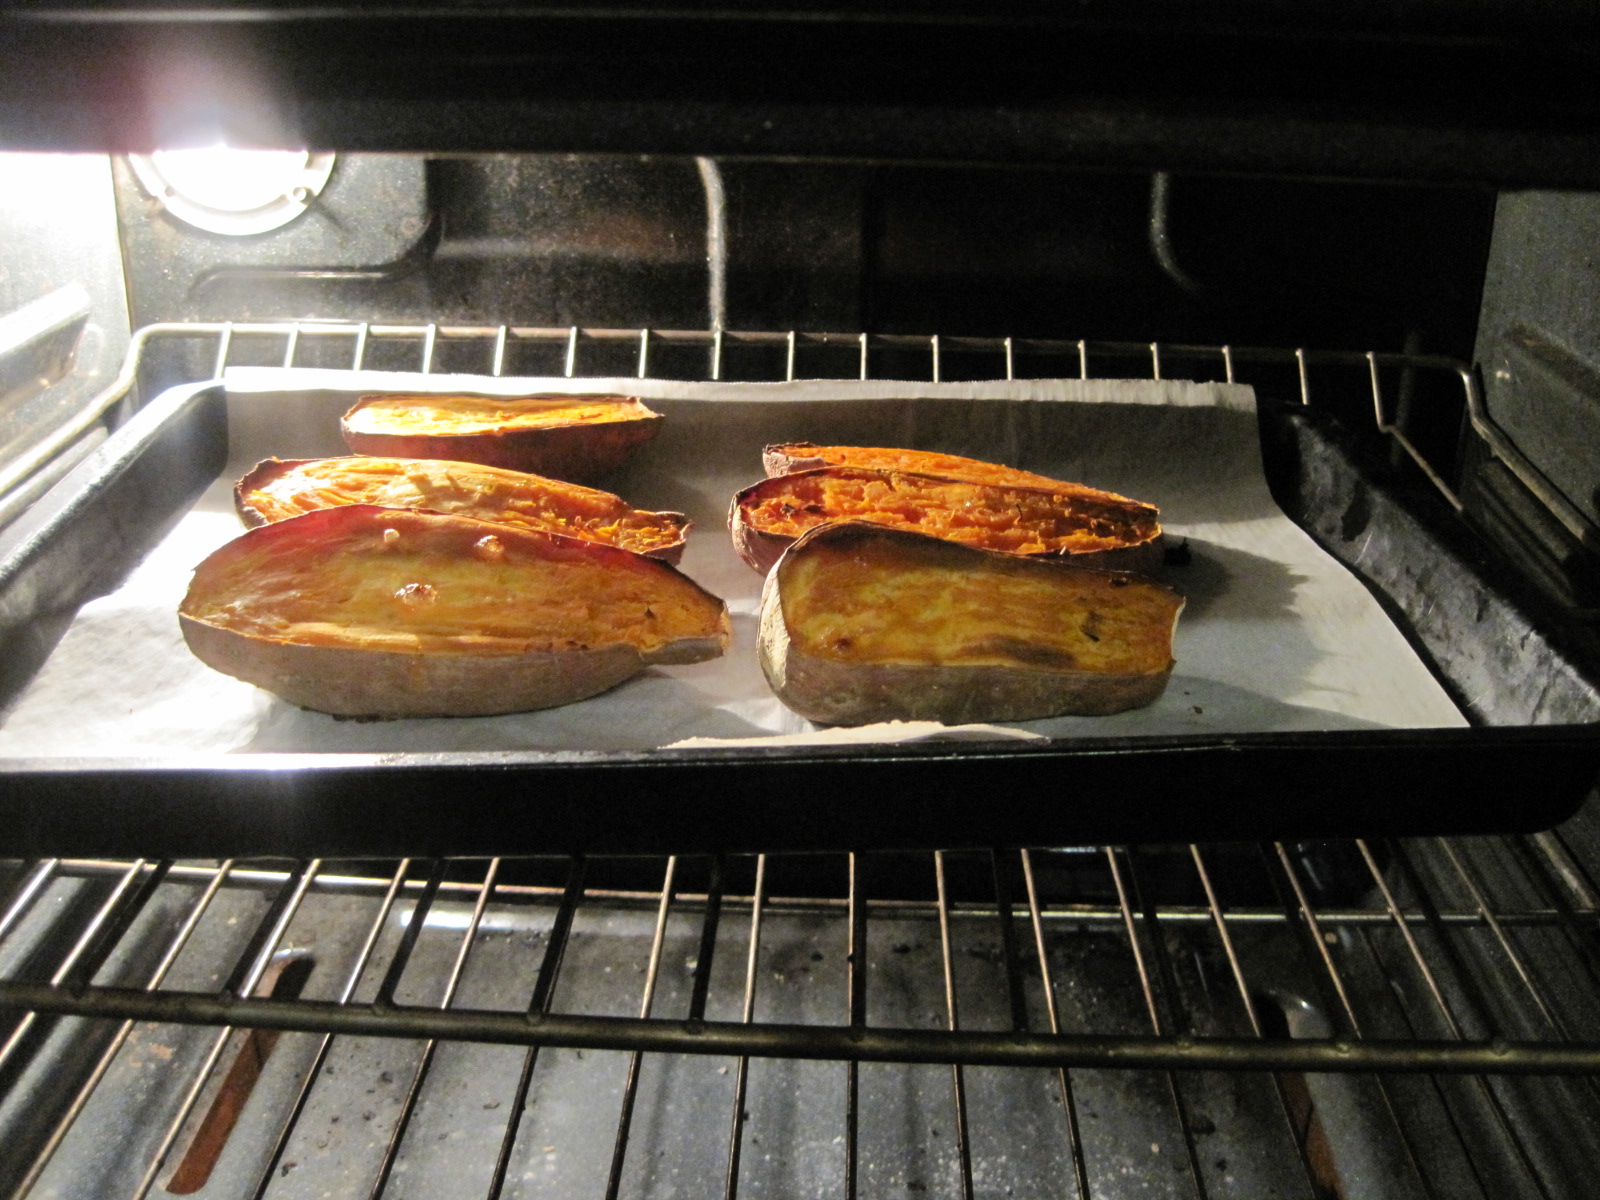
- Roasted Sweet Potatoes
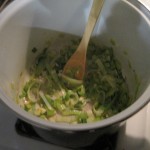
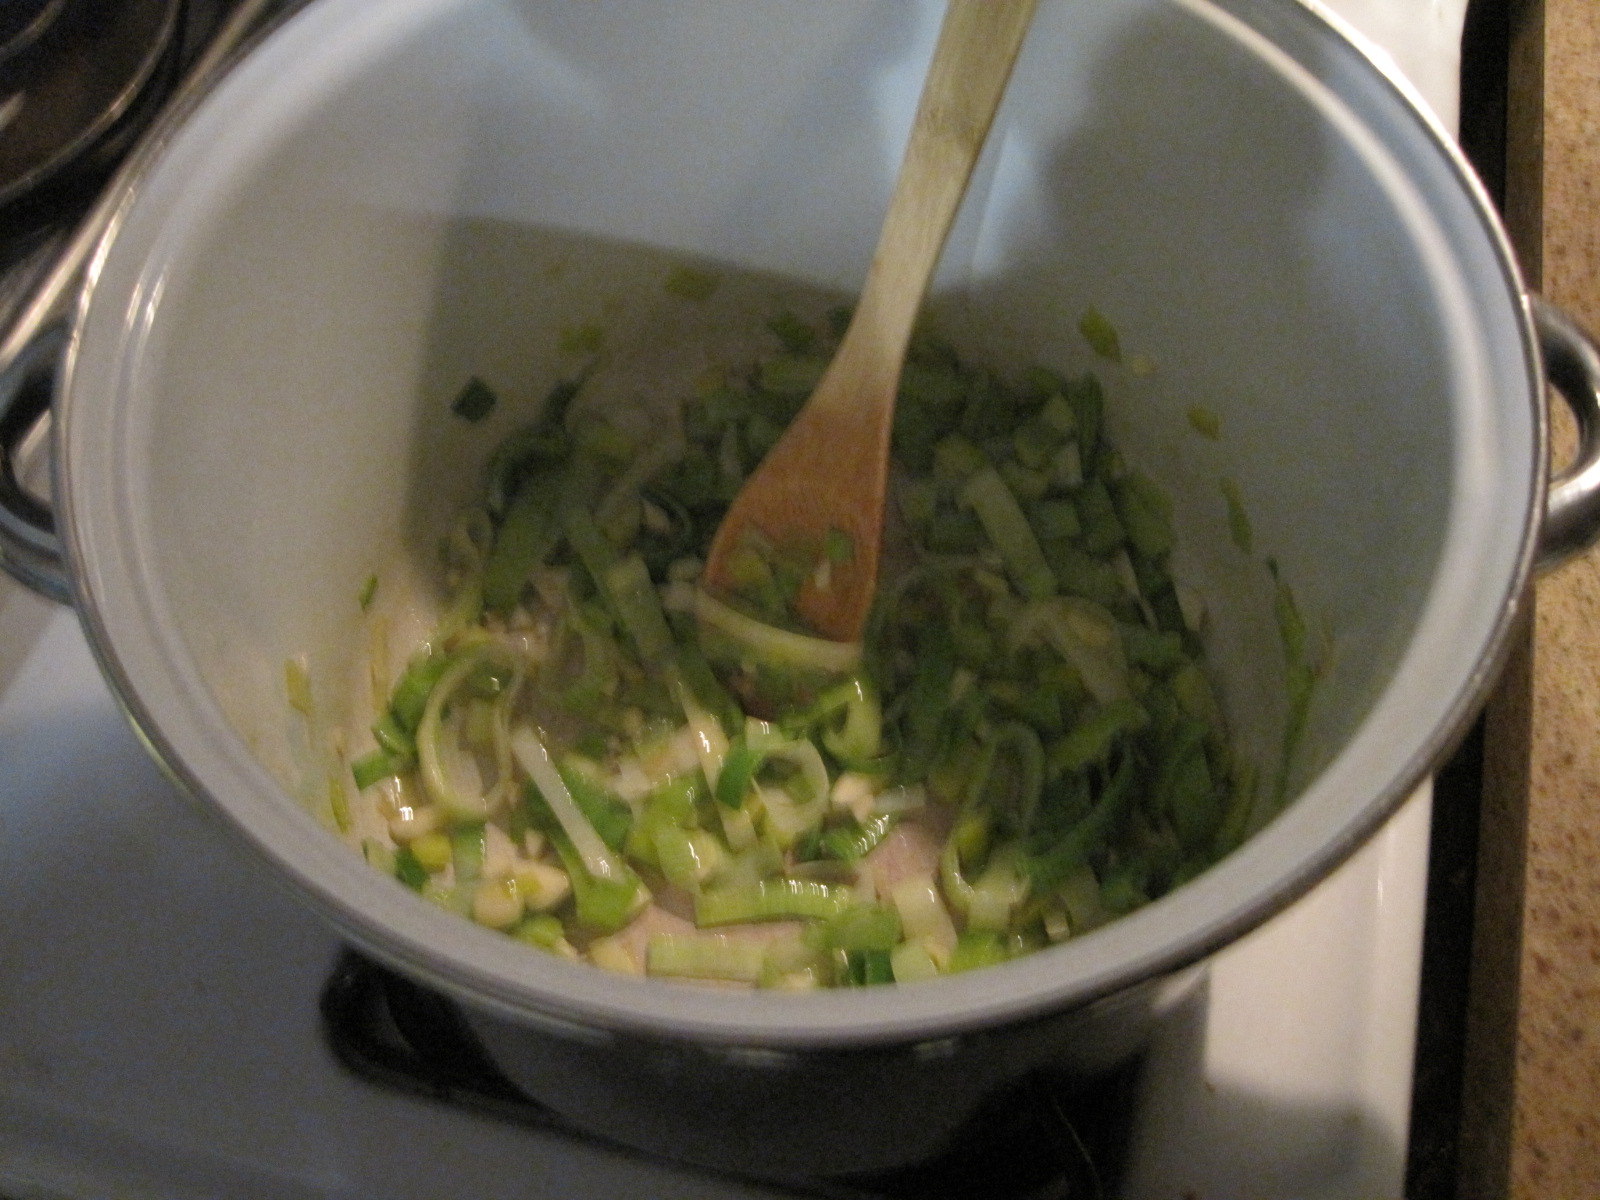
- Sauteed Leeks